

A timber deck stays in better condition when you clean it, let it dry fully and apply a suitable oil or stain. To understand how to protect a timber deck near the coast, make regular rinsing part of your routine: plain water at least every six months helps remove corrosive salt deposits. Use a bristle brush for cleaning, and avoid harsh pressure that could damage the timber or strip its protective finish.
Cleaning is a practical first step, but preparation and the finish matter too. New timber may need time to weather before coating, while oil and stain create different looks and offer different kinds of protection. This guide covers cleaning, finish selection, preparing new timber and caring for coastal decking, so you can follow a clear routine and make informed decisions about the work.
Key Takeaways
- Choose oil to nourish and protect timber, or stain when you want to change its colour while adding UV resistance.
- Prepare new timber according to its type: weathering time varies, and the surface should be clean and dry before coating.
- Keep coastal decking clear of salt and refresh its protective finish as exposure and wear call for it.
- Clear organic debris and inspect the deck regularly to catch early signs of mould, algae or rot.
What is the difference between decking oil and stain?
Choose a finish according to the timber’s appearance and the protection it needs. Before applying it, identify the deck material and follow the product directions.
Compare decking oil and stain
Compare how each finish affects colour and timber protection. Decking oil can nourish the surface, while stain changes the timber’s colour and increases its resistance to UV rays. Oil-based finishes penetrate deeper than water-based finishes. Water-based decking oils usually preserve more of the timber’s natural colour, while non-water-based oils can leave it slightly darker.
Check the label before choosing: water-based decking oils tend to last longer because they sit on top of the wood. Both types can protect timber decking. Don’t assume oil and stain will look the same; test your chosen finish on an inconspicuous area first.
Consider decking oil’s UV protection
Choose decking oil with UV protection to help reduce sun damage that can make timber crack and shrink. Apply at least two coats for durable UV protection and stronger resistance to harsh conditions. Let the first coat dry before applying the second, and spread each coat evenly along the grain.
Use the product directions to guide recoating. Manufacturers commonly recommend recoating every 6-12 months, but exposure and wear affect the interval. Inspect the surface for fading or worn areas as part of your maintenance routine.
- Check exposed nails and screws before coating. Brush decking oil over the surrounding timber and exposed fastener heads, keeping the finish even and preventing it from pooling around the metal.
- Make sure the surface is timber, not composite. Timber decking can take suitable oil or stain; don’t apply timber finishes to composite boards unless the product directions allow it.
- Use a bristle brush to work the finish along the grain and into the board edges. Avoid leaving excess oil in grooves, where it can collect instead of forming an even coat.
Preparing new timber before finishing
Choose a preparation method suited to the timber species and its condition. Clean, dry boards help the finish sit evenly.
-
Prepare a new deck before oiling
New hardwood may benefit from weathering before coating to help prepare it for finishing. New treated pine can weather for 2 weeks, or for the period its manufacturer recommends. If timber is left to weather without rain, hose it regularly. After weathering, clean it with deck cleaner according to the label, then rinse thoroughly to remove residue that could fade or discolour the timber.
-
Prepare timber with oxalic acid
Use an oxalic-acid timber cleaner only when its label suits the deck and the discolouration you’re treating. Follow the label’s application and rinsing directions, and don’t leave cleaner on the boards. For a general deck-cleaning solution, leave it on the timber for fifteen minutes before scrubbing with a bristle brush. Rinse the boards thoroughly and let them dry before applying a finish.
-
Prepare new bare timber
Allow new bare timber to dry or weather before coating. New hardwood may need 6-12 weeks outdoors, while softer timber such as Cypress, Western Red Cedar and treated pine can be sealed straight away. Follow the timber manufacturer’s guidance and choose the method that suits the species and moisture in the boards.
- Sand rough boards with 60-80 grit, then remove dust before finishing. Apply protective finish to timber ends, faces and edges before assembly; exposed decking should receive a finish within 90 days. Treat cut ends of treated pine with at least two coats. Keep outdoor furniture off the deck until the boards are dry. For help with deck preparation and finishing, explore timber deck finishing.
Protecting timber near the coast
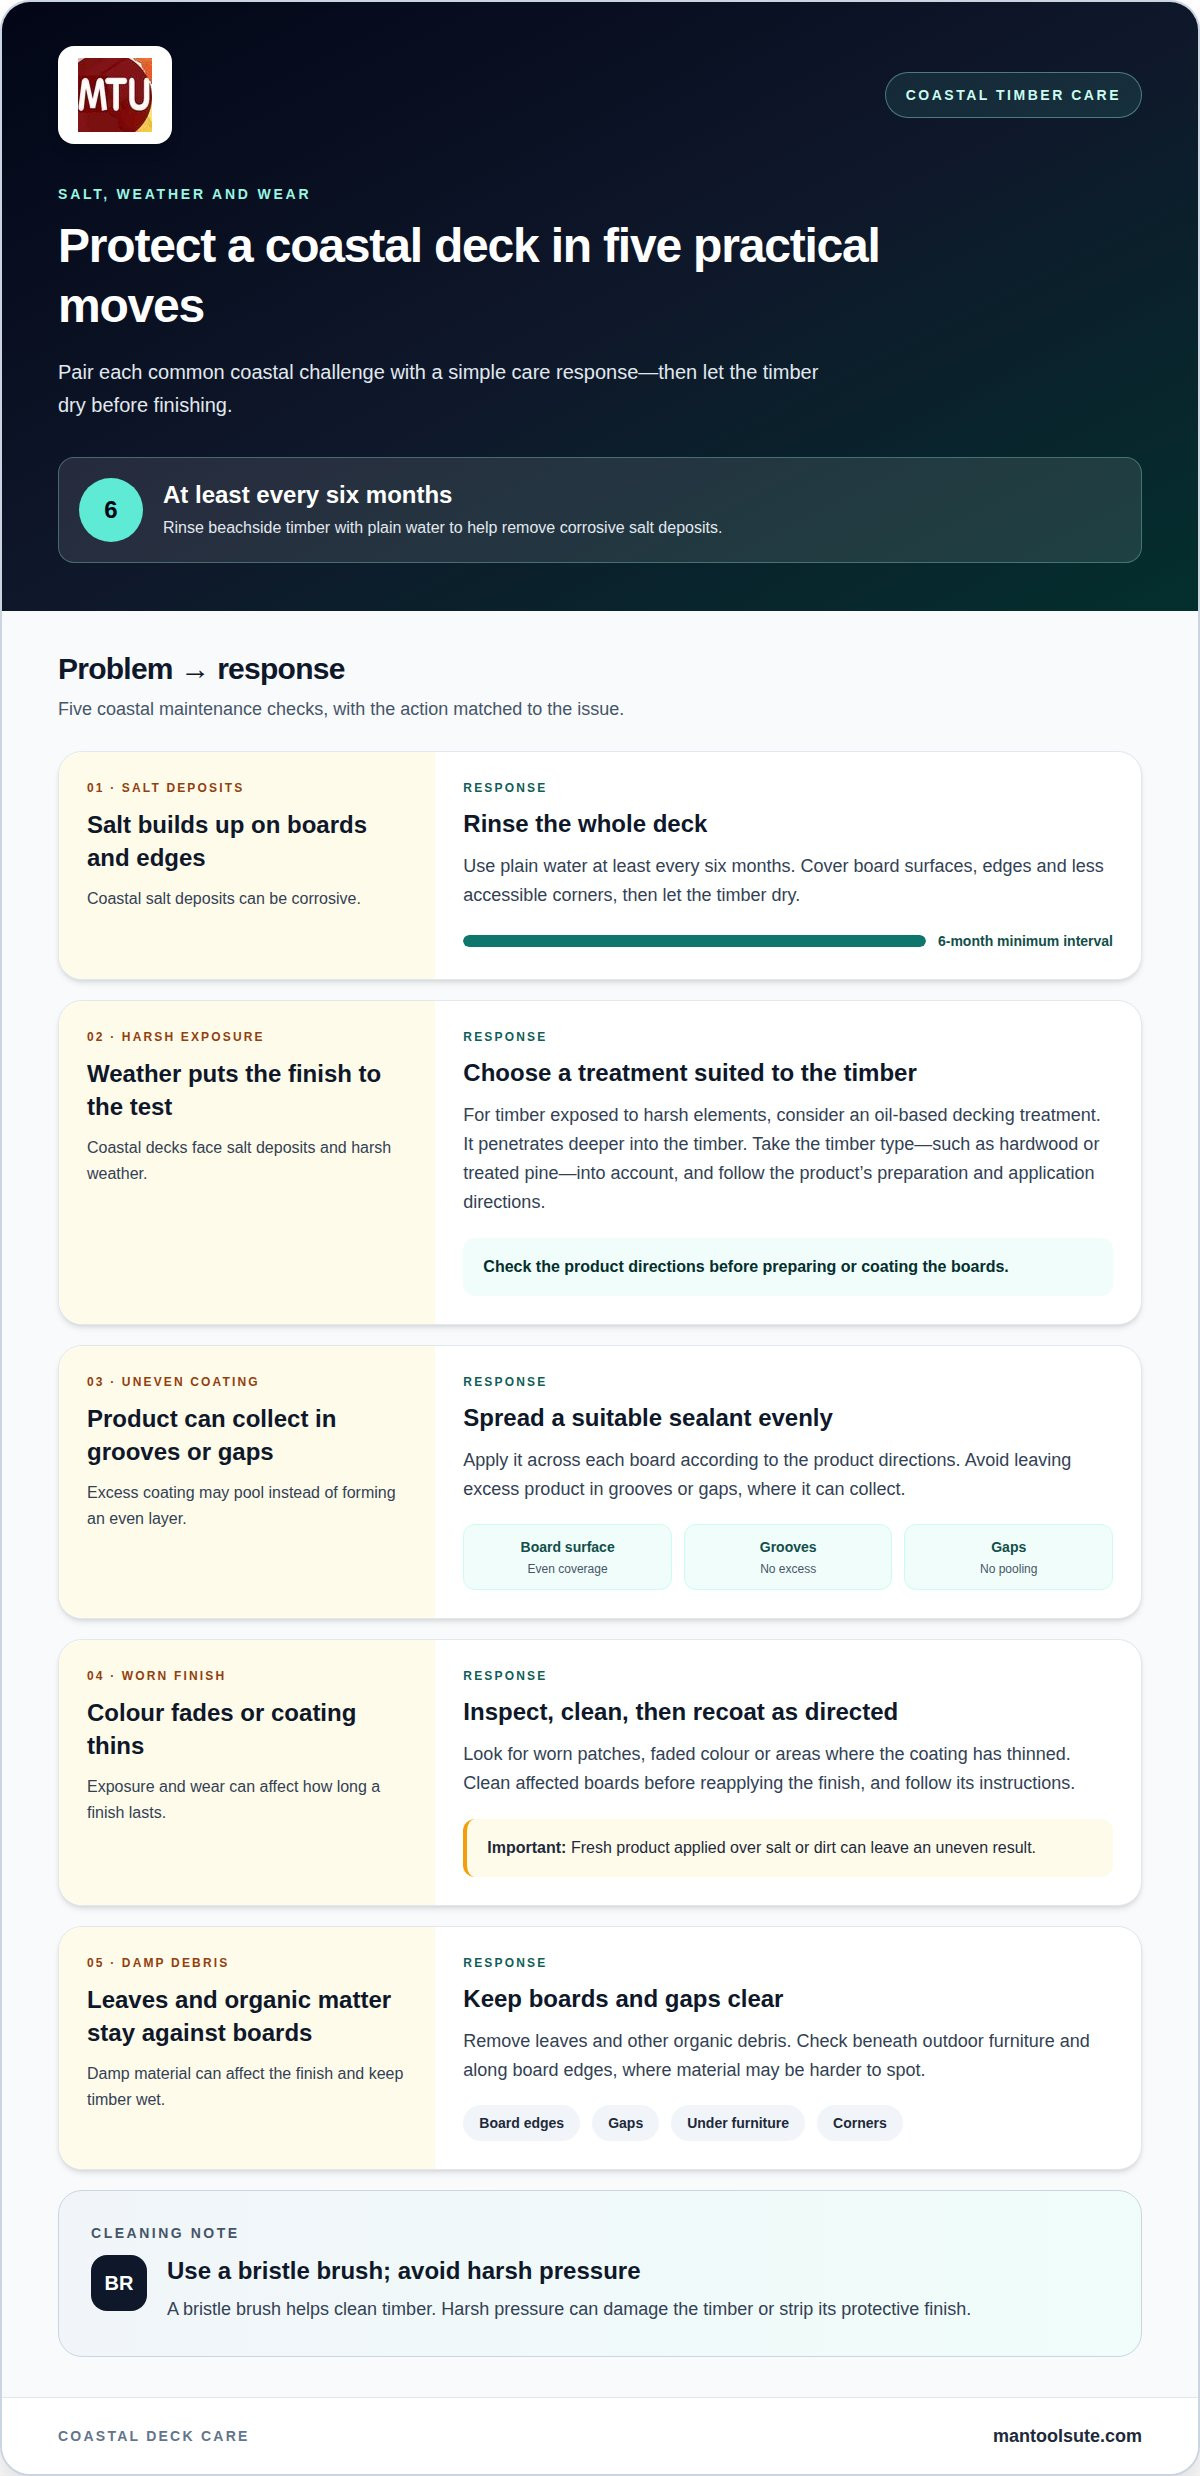
Coastal decks face salt deposits and harsh weather, so include regular rinsing and finish checks in your maintenance routine. If you’re considering how to protect a timber deck near the beach, start by removing salt before it builds up on the boards.
- Rinse beachside timber with plain water at least every six months to help remove corrosive salt deposits from board surfaces and edges. Cover the full deck, including less accessible corners, then let the timber dry. Regular rinsing is a simple first step in protecting a timber deck from coastal conditions.
- Choose an oil-based decking treatment for timber exposed to harsh elements. It penetrates deeper into the timber, helping protect the boards from weather exposure. Consider the timber type, such as hardwood or treated pine, and follow the chosen product’s preparation and application directions.
- Apply a suitable sealant to help preserve the timber and protect it from harsh weather. Spread the coating evenly across each board, following the product directions. Avoid leaving excess product in grooves or gaps, where it can collect instead of forming an even protective layer.
- Inspect the finish as part of your coastal maintenance routine. Look for worn patches, faded colour or areas where the coating has thinned. Clean affected boards before reapplying the finish, and follow its instructions. Fresh product applied over salt or dirt can leave an uneven result.
- Keep leaves and other organic debris off the deck. Damp material left against the boards can affect the finish and keep the timber wet. Check beneath outdoor furniture and along board edges, where debris may be harder to spot. This simple habit supports your rinse-and-coat routine without extra products.
How to prevent mould, algae and rot on a timber deck
Clean and inspect the deck regularly to catch dampness, debris and damaged timber before problems spread.
- Clear leaves, soil and other organic debris from the boards and gaps. Left in place, this material can decompose and become acidic, potentially damaging the deck. Pay particular attention to corners and areas beneath outdoor furniture, where debris can collect and stay damp.
- Clean the deck every six months to remove grime and growth. One homemade cleaner uses two cups of sodium percarbonate in a bucket half filled with hot water. Apply it to the deck, scrub the surface, then rinse thoroughly. Keep the solution off nearby plants and handle it carefully when preparing it.
- Inspect the deck surface and supporting structure about every six months. Look for mould, algae, soft patches and timber that feels spongy. Gently probe suspect boards. Timber that crumbles when touched or prodded with a claw tool should be replaced, not hidden under a fresh finish.
- Keep the deck able to dry after rain. Check for debris blocking gaps between boards and notice where water sits instead of draining away. Persistent dampness can encourage mould and rot. Atmospheric moisture content around 20% is identified as a contributor to dry rot in timber, so investigate areas that stay wet.
- Act on early signs rather than coating over them. Remove loose growth and debris, clean the affected area, then inspect the timber again once dry. If a board is soft or crumbling, replace the damaged timber before refinishing. For help with deck care and timber treatments, arrange timber and decking work.
Mantoolsute Painting Service: Interior House Painting
Mantoolsute Painting Service provides Timber & Decking work when a deck needs careful preparation and a fresh protective finish. If boards are weathered, uneven or difficult to prepare, a considered approach can help ensure the surface is ready for coating. The right process depends on the timber’s condition and the finish selected.
For broader painting projects, Mantoolsute Painting Service also offers Interior House Painting, Exterior House Painting and Concrete & Driveway Painting. Discuss the surfaces you want treated and the result you’re looking for.
For help with your deck or another painting project, contact Mantoolsute Painting Service to discuss the work.
Make deck care part of your home routine
Knowing how to protect a timber deck is useful, but lasting care comes from noticing changes early and maintaining the surface regularly. Make a quick inspection part of your household routine: look for worn areas, trapped debris or timber that feels different underfoot. These checks can help you decide when the deck needs cleaning, maintenance or a fresh finish.
Consider your deck alongside other surfaces around your home. Mantoolsute Painting Service offers Timber & Decking, Interior House Painting and Exterior House Painting, so you can discuss related painting work together. The next step depends on the timber’s condition and the result you want, whether you’re refreshing a deck or planning broader painting work.
For a practical conversation about your project, contact Mantoolsute Painting Service. A clear plan can make caring for your home feel more manageable.
Frequently Asked Questions
How do I maximise oil or tint lifespan?
Use the finish as directed and maintain the surface between coats. Rinse away grit before it wears down the coating, and shift pots or mats occasionally so damp patches don’t stay trapped underneath. Check high-traffic paths, steps and board ends first, as wear often shows there before it appears in open areas. Before recoating, remove dirt and loose residue, then follow the product’s preparation and drying directions.
How often do I need to re-treat my deck?
Plan a yearly inspection, then set recoating around exposure and use. Manufacturers commonly recommend recoating every 6-12 months, but a small, sheltered deck used occasionally may only need resealing every couple of years. A main entertaining deck will likely need treatment at least once a year. Check the finish condition, rather than relying on the calendar alone, because shade, foot traffic and weather affect wear.
How soon can I seal a new deck?
Base the wait on timber type and moisture, not simply the installation date. New hardwood is commonly left exposed for 6-12 weeks before coating. New bare timber can weather for 4-6 weeks or dry for at least 1 hour after preparation. Treated pine can weather for 2 weeks, or follow its manufacturer’s recommendation. Coat once the timber is ready for the chosen finish.
How do I protect untreated outdoor timber while maintaining its aged look?
Let untreated timber weather naturally if you want a silver-grey appearance; avoid oil or coloured stain, which can change its colour. Keep in mind that uncoated timber remains exposed to sun and rain, so its colour may fade unevenly. Keep leaves and dirt off the boards, rinse away grime and move outdoor furniture occasionally. This helps prevent sheltered patches from looking different to exposed areas.
How do I stop my wooden deck fading?
Where practical, reduce direct exposure with shade and move furniture or planters to avoid uneven colour bands. For exposed timber, choose a finish with UV protection. Stain adds UV resistance but changes the timber’s colour, while decking oil helps protect against UV-related cracking and shrinkage. Follow the product’s instructions for coats and maintenance, paying particular attention to boards in strong sun.
Should I seal treated pine cut ends?
Yes. Apply at least two coats of the selected treatment to treated pine cut ends, including cuts made during later repairs. Treat the ends during construction where possible, before they become difficult to reach. Follow the product directions for drying between coats before fitting or handling the timber. This gives newly exposed cut surfaces the same considered treatment as the rest of the boards.


